
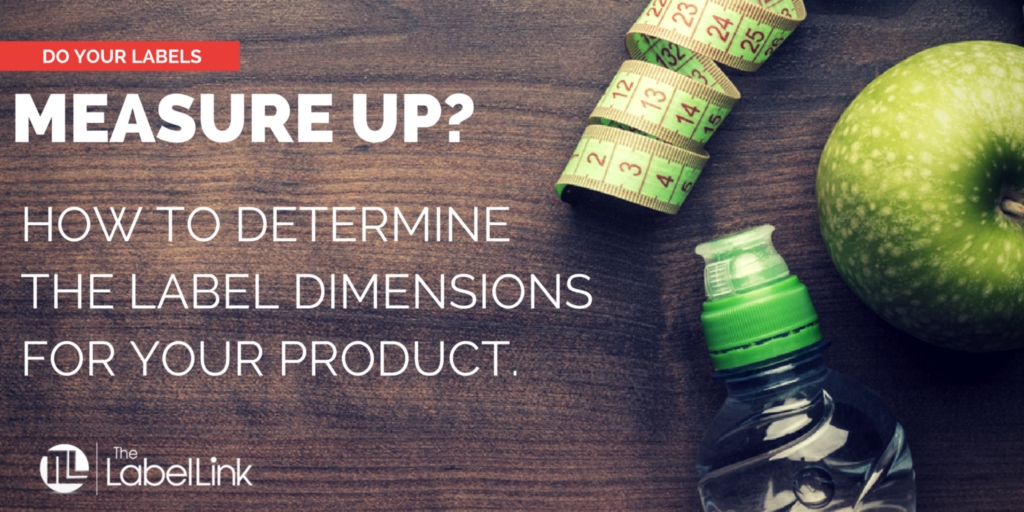
Quick Guide: How to Measure Labels for a Container
It’s a common problem for many product manufacturers – measuring labels.
You already have the container and plan to have your labels automatically applied, so what’s the big deal? Measuring a label should be fairly simple, right? As counterintuitive as it might seem, measurements are one of the trickiest parts of the process for many companies.
Here’s a quick guide to help you accurately measure labels for a container when you will have them automatically applied.
Finding the Sweet Spot
Before you start measuring, find the sweet spot where your label will be applied. This will be the flattest part of your container.
When you apply your labels manually, you’ll peel them off the sheet or roll and stick it onto the container. But, when labels are applied automatically, they’re wrapped on by a machine. This process makes precise measurements more important.
Another important consideration is where your labels will be applied:
- On top, such as on a cap or lid
- On the bottom or base of your container
- On the front or back panel of the container
- Wrapped fully around the container.
Knowing the spot where your label will be applied is critical as you start to measure. .
Getting the Right Dimensions
With the place and process in mind, you’re ready to start gathering dimensions. Measurements for label packaging are always in height x length.
The first dimension (height) will measure from top to bottom of the container. Next, you’ll measure the width of the label. If you have a circular bottle, you’ll need to measure the circumference.
In the commercial printing world, these dimensions are reversed by measuring length x height. It’s important you’re clear on what’s needed before you measure to avoid confusion. The dimensions matter because many machines are only able to apply a label in a specific orientation. This is called the copy position.
When measuring a container, stay clear of all curved edges by ⅛”. This is the standard tolerance requirement when applying labels automatically. If you plan to apply any labels manually, you’ll also appreciate having some wiggle room for error.
If your container has a panel or a recessed area in the molding, treat it the same way you would a curved surface – stay clear by ⅛”.
Type of Container
Did you know that determining the label dimensions could differ depending on your container type?
The type of container matters quite a bit. There are no industry “standard bottle” sizes or shapes. An 8 oz boston round from one manufacturer is often times slightly different than an 8 oz boston round bottle from another manufacturer. For example, one company might have a short, stocky bottle while another might have a tall slim bottle.
It’s always important to measure the exact container for your label sizes.
Bottles
Most bottles have a “shoulder.” This is the curved area at the top that leads to the neck of the bottle. They may also have a curved area at the base of the bottle.
When measuring, keep your ⅛” clearance in mind. If you’re using a wraparound label, decide if you want to have a gap between the start and end of the label. If so, it should be the standard ⅛”. If you want to have it overlap, the overhead area should be at least 3/16” to ¼”.
Ensure these clearance areas are free from any text or images. And for varnished labels, this area should be varnish free.
Tubes
Tubes are unique containers because of how the labels are applied. Typically, your label will be applied with the tube upside down and unfilled, making them a perfect cylinder.
If your tube is already crimped and you wish to apply a label after the fact, it’s not recommended because of wrinkle and application issues. If you need to have a label, you must decide if you want it crimped through the tube or applied just under it. Most tube labels are not crimped. Check with your filler to determine the length of the crimp. Plan on the label clearing an area of about ⅛” from the crimp.
Like bottles, you’ll also want the label to clear an area of ⅛” from the shoulder of the tube. Most often, this area is closest to the cap.
You’ll also need to determine whether you want a gap or to have your label overlap. If you want a gap, plan to leave ⅛” between the start and end of the label. If you want an overlap, plan for 3/16”.
Jars
Jars use similar criteria as bottles. The biggest difference is whether your jar has a taper.
Many jars, especially double walled jars, have a taper. If you’re not sure if your container has a taper, hold a straight edge ruler along the side of the jar. If there is a taper, the ruler will have a gap closer to the bottom of the jar.
If your container tapers, you will need a special shaped label. This is best measured by your printer. Standard rectangle labels tend to wrinkle when applied automatically, skewing the design on your label.
Special Shaped Containers
If you have a special shaped container, leave the measurements to a professional. Send your container to your printer to get the proper dimensions. Most of the time these will be custom dimensions and require a special tool to properly fit the container.
Here’s a cost savings tip for you! Once you have your measurements in place, it’s time to save some money! Ask your printer if they have an exact or close match die to that size. You’ve already determined the maximum size of the label. Often you can get a better price on a similarly sized label that will still fit well. This can save you hundreds of dollars!
Question: Do you have a uniquely shaped container? What has been your biggest measurement hurdle? Tell us about your experience in the comments.
If measuring your container is still a bit tricky or you need a bit of help with a special shaped container, shoot us an email. We’d be glad to help you determine your label dimensions.