
Got Label Samples? Here’s What to do Next
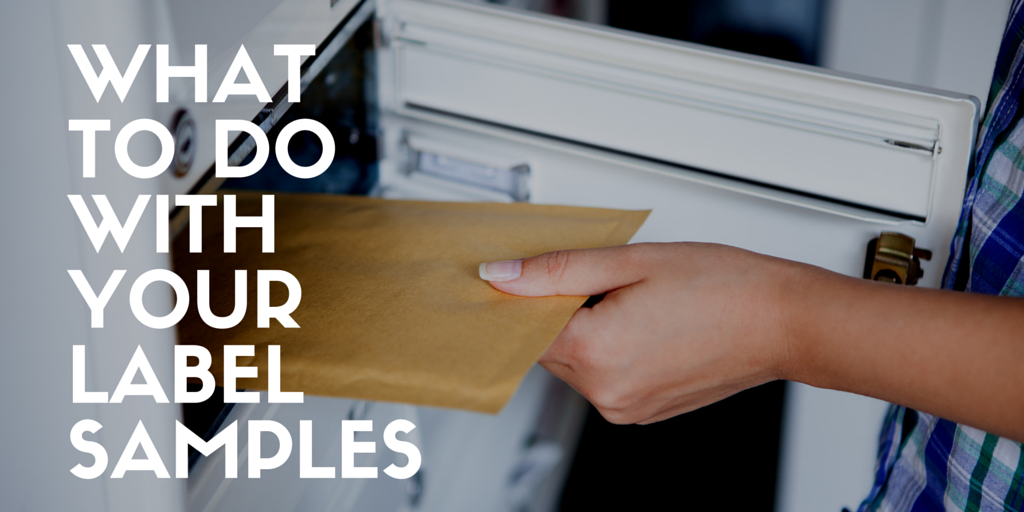
You’ve waited for this package for days! Your label samples have finally arrived and now you’re ready to put them to the test.
*Cue the trombones* Your label testing party is ready to get started… but first, where do you start? How do you actually test these labels to make sure they’re exactly what you described to your printer?
A good printer will give you samples of similar printed jobs and blank stock samples that will be used to produce your labels.Similar looking samples are great to verify that the printer can produce the look and feel you desire. The actual material (the exact facestock and adhesive used) is key to determining if this specific material works for your unique packaging. Although the samples might look similar on the surface, there are key differences that could make or break your satisfaction.
Look for These Three Things When Reviewing Your Label Samples
When your label samples arrive, there are three main criteria needed to test the labels for the end use application. . Each of these will help you determine whether the printer recommended material will work or if you need to go back to the drawing board.
1. Check the size and shape.
Your test label must be the exact size and shape as the final labeled item.
Many printers will charge a fee to provide die cut label samples. They require extra time/costs to set up a press to create. However, some printers will provide you with blank labels cut to the size and shape you require without a fee, so be sure to ask.
A good workaround is to get a long strip of the exact label material including any laminations where applicable. Cut out the label samples for testing. If you’re hand applying your labels, you can test to see how well the labels will work. If your labels will be machine applied, you will need to get blank die cut samples on a roll from your printer for testing on the label applicating equipment.
2. Test the application of your labels.
The way your labels are applied matters. Sometimes, you’ll need a freezer or a heat lamp to test it correctly. Other times, you’ll have your labels applied in a humid climate or using moisture.
Mimic the application conditions as closely as possible when testing your labels. This is important so you’re aware of the integrity of the material you’re choosing. For example, some material cannot withstand moisture while other labels wrinkle because they use the wrong materials. Testing under actual conditions is the best way to avoid these types of issues because you will know in advance if there is an issue and can then retest other materials.
Here Is a General Process for Testing Labels
Apply about six labels to your containers. Remove the first three label samples after about 10 to 20 minutes. Leave the remaining labels on and check their performance every few hours. If your labels still look as expected 24 hours later, you have a winner.
3. Tell your printer about any long-term testing requirements.
Long-term testing requirements include removability, fade resistance, chemical resistance, and other elements. Communicating these requirements with your label manufacturer is essential. They might have a method to test the material performance from their suppliers. These suppliers can often accelerate tests over a few weeks to simulate months of performance.
Will Your Labels Receive a Stamp of Approval?
To help you give your stamp of approval with confidence, we have put together a quick checklist for you to use when evaluating label samples. Although you might not need to do every variable with your test samples, you will need to do most to ensure you get the best label possible for your product.